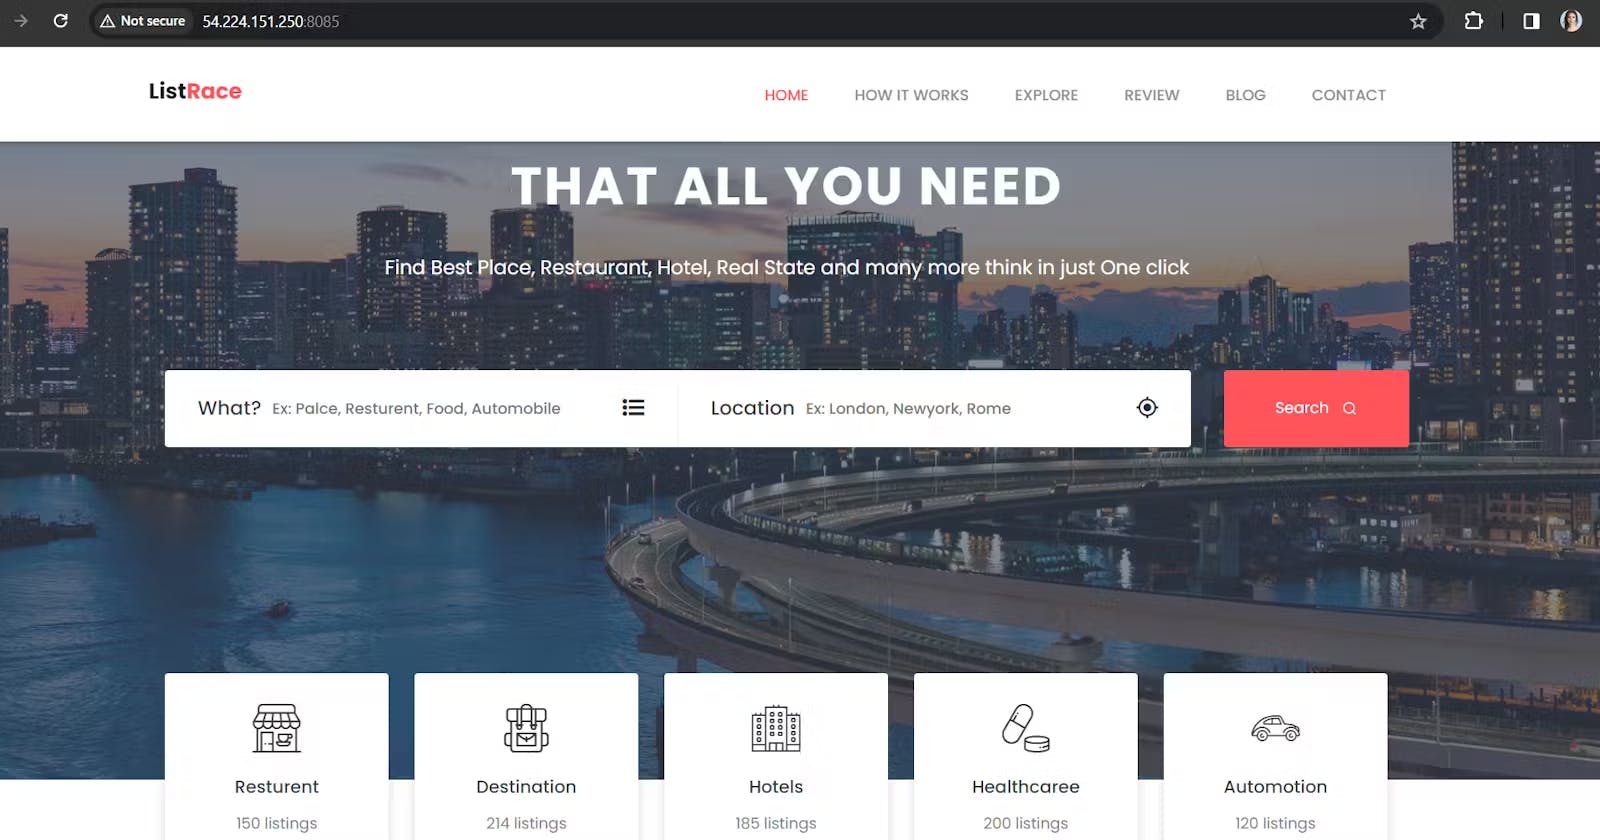
Download any free CSS Template from Internet.
Create a new GitHub repository.
Upload the template code from your computer to the GitHub repository.

Create three virtual servers (EC2 instances) on AWS, using the same keypair for easy connection between them.

Meet Jenkins, Your DevOps Butler:
Connect to Jenkins server and Install Jenkins
Note: Java is required to install Jenkins


Jenkins, Meet GitHub:
After setting up Jenkins, Create a Freestyle project, provide GitHub repository details, and choose GitHub poll SCM option and add webhook in GitHub

Click build now and check if it is pulling code from GitHub

To verify if changes made in GitHub will automatically trigger Builds, create sample file in GitHub.

You can see below, build was triggered after committing new file changes in GitHub.


Say Hello to SonarQube - Your Code Quality Checker:
Connect to SonarQube server, Changing the host name because not to get confuse with other servers

For SonarQube Server requires java 17

Search for SonarQube on Internet and copy Community edition url and download it on Server

To unzip the folder installing unzip

Unzipping SonarQube files

Here I'm using linux machine so moved into linux-x86-64 folder and run ./sonar.sh console to run SonarQube, Allow port 9000 on server

Default username and password to login SonarQube will be "admin", Then reset the password required.
Create a local project and select the options shown below.


Copy project properties i.e Sonar projectkey in a notepad

Token Magic for Jenkins and SonarQube Handshake:
Create a secret handshake between Jenkins and SonarQube by generating a token. It's like giving them a secret code so they can work together seamlessly.
Admin -> My Account -> Security -> Tokens -> Generate Tokens
Copy it in your notepad

Install SonarQube Scanner for Jenkins Plugin and SSH2 Easy Plugin


Integrate SonarQube Scanner on Jenkins

Provide SonarQube URL and add SonarQube Token you generate

In Secret provide SonarQube Token


In Build Steps provide Sonar projectkey that you copied before

Click on Build now and check if code quality will be tested by SonarQube


Docker - the Magical Box:
Now, Login to your Docker Server and Install Docker


Jenkins and Docker - BFFs Forever:
On Jenkins Server try to login Docker Server
Here it shows permission denied so make changes in configuration file


Change PasswordAuthentication to yes and save file

Set password for ubuntu user on Docker server

Now try to login Docker Server from Jenkins Server
Note: Public IPs get changed if you reboot server

Generate SSH key on Jenkins and copy it to Docker server

Create server group on Jenkins and provide ubuntu user's password that you had set above

Now add the Server under the group you created

Check if file created on Jenkins will reflect on Docker Server

Click Build Now

Check on Docker Server that if file is reflecting

Simply created sample Dockerfile for testing purpose


Create folder a to copy all the code of website

Copy every file to the website folder on Docker Server

Check if pipeline is getting executed
Note: Here Travel-Website(local project created on SonaQube) showing failed because we had added Dockerfile

Including -r in command for recursive copying


Verify on Docker Server if code is being copied to the specified path


Build and Test in Docker Wonderland:
Now build image and run container from Jenkins

Build is getting executed

Check if container is created

Allow port 8085 on server to access the Website

Your App is Live!:
Allow traffic to your website by opening port 8085. Your website is live, accessible to the world.
Tadaaaaa!!!!!!!!!! App is accessible now!!!!!!!!!!

Conclusion:
We began with a stylish website template, uploaded it to GitHub, and then orchestrated the deployment dance using Jenkins, SonarQube, and Docker. Each tool played a crucial role, turning our code into a live, high-quality website. It's a journey that showcases the beauty of automation and collaboration in the world of web development. The final result? A website accessible to the world, all thanks to the magic of technology.🚀✨
🙌 Thank you for taking the time to explore this blog!📚 I hope you found the information both helpful and insightful.✨
🚀 Enjoy your learning journey, and don't hesitate to reach out if you have any feedback. 🤓 Happy exploring!
